Blog
How to Use Paint Sprayers and Rollers Effectively?
Painting is a great way to refresh your home or give it a new look. But painting can also be messy, time-consuming and wasteful if you don’t use the right tools and techniques. In this blog post, we will show you how to use paint sprayers and rollers effectively, so you can get the best results with less hassle and cost.
Spray Painting vs. Painting With a Roller
Spray painting and painting with a roller are two common methods of applying paint to walls, ceilings, furniture and other surfaces. Both have their advantages and disadvantages, depending on the type of project, the size of the area, the quality of the finish and the budget.
Spray painting uses a paint sprayer to atomize the paint and spray it onto the surface in a fine mist. This creates a smooth and even coat of paint that can cover large areas quickly and easily. Spray painting is ideal for painting irregular or textured surfaces, such as stucco, brick, wood or metal. It can also create different effects, such as fading, blending or splattering.
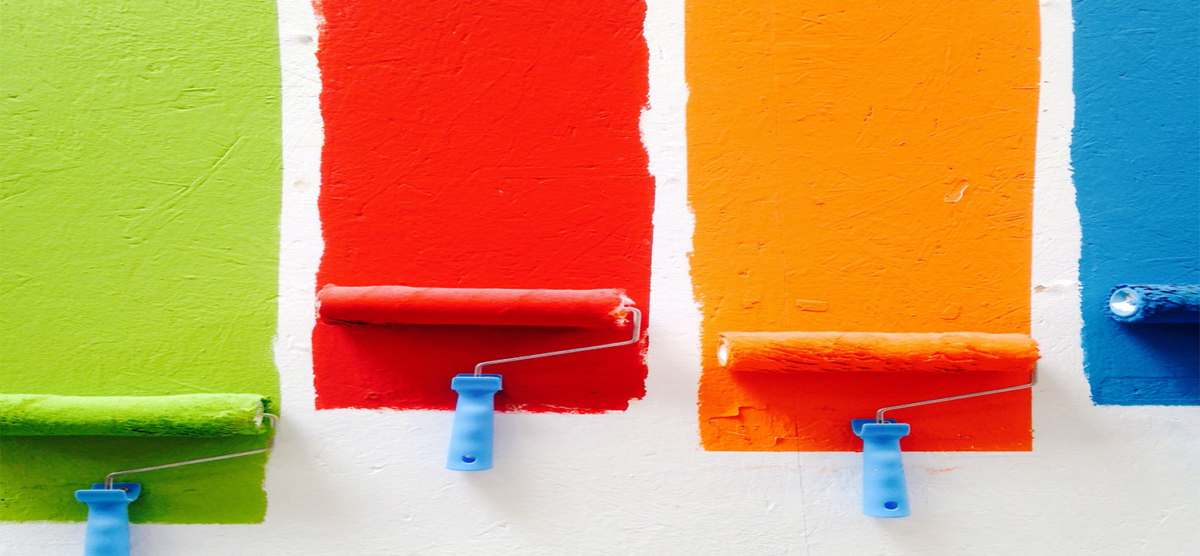
Painting with a roller uses a paint roller to apply the paint to the surface in a series of strokes. This creates a thicker and more durable coat of paint that can fill in small cracks and holes. Painting with a roller is ideal for painting flat or smooth surfaces, such as drywall, plaster or concrete. It can also create different patterns, such as stripes, dots or swirls.
How to Use Spray Paint Efficiently?
To use spray paint efficiently, you need to prepare the surface, choose the right paint sprayer, adjust the settings, test the spray pattern and apply the paint in thin and even coats.
– Prepare the surface by cleaning it, sanding it if necessary and masking off any areas that you don’t want to paint. Use drop cloths or plastic sheets to protect the floor and furniture from overspray.
– Choose the right paint sprayer for your project. There are different types of paint sprayers, such as airless, HVLP (high-volume low-pressure) or LVLP (low-volume low-pressure). Airless sprayers use high pressure to spray the paint without air, which makes them fast and powerful but also noisy and prone to overspray. HVLP sprayers use low pressure and more air to spray the paint, which makes them more precise and less wasteful but also slower and more expensive. LVLP sprayers are similar to HVLP sprayers but use less air and less paint, which makes them more economical and suitable for small projects.
– Adjust the settings of your paint sprayer according to the type of paint, the size of the nozzle and the distance from the surface. You can adjust the pressure, the flow rate and the spray pattern (fan or cone) of your paint sprayer to get the best results. Generally, you want to use higher pressure and lower flow rate for thinner paints and lower pressure and higher flow rate for thicker paints. You also want to use a smaller nozzle and a narrower spray pattern for smaller areas and a larger nozzle and a wider spray pattern for larger areas.
– Test the spray pattern on a piece of cardboard or scrap wood before you start painting. This will help you check the consistency, coverage and quality of the spray. You can also practice your spraying technique by moving your arm back and forth at a steady speed and keeping the nozzle at a constant distance from the surface (usually 10 to 12 inches).
– Apply the paint in thin and even coats by overlapping each stroke by about 50%. Start from the top and work your way down. Don’t spray too much paint at once or too close to the surface, as this can cause drips, runs or sags. Let each coat dry completely before applying another one. Usually, two or three coats are enough to achieve a good finish.
How to Use a Roller Efficiently
To use a roller efficiently, you need to prepare the surface, choose the right paint roller, load it with paint, test it on a piece of cardboard or scrap wood and apply it in smooth and even strokes.
– Prepare the surface by cleaning it, sanding it if necessary and masking off any areas that you don’t want to paint. Use drop cloths or plastic sheets to protect the floor and furniture from drips.
– Choose the right paint roller for your project. There are different types of paint rollers, such as foam, synthetic or natural fiber rollers. Foam rollers are good for applying glossy paints on smooth surfaces but can leave bubbles or marks on textured surfaces. Synthetic fiber rollers are good for applying latex paints on any surface but can shed fibers on rough surfaces. Natural fiber rollers are good for applying oil-based paints on rough surfaces but can absorb too much paint on smooth surfaces.
– Load your paint roller with paint by dipping it into a tray or bucket of paint and rolling it back and forth on a ridged area until it is evenly coated but not dripping.
– Test your paint roller on a piece of cardboard or scrap wood before you start painting. This will help you check the consistency, coverage and quality of the paint. You can also practice your rolling technique by moving your arm back and forth at a steady speed and keeping the roller at a 45-degree angle from the surface.
– Apply the paint in smooth and even strokes by overlapping each stroke by about 50%. Start from the top and work your way down. Don’t press too hard or too lightly on the roller, as this can cause drips, runs or skips. Reload your roller with paint as needed but don’t overdo it, as this can cause splatters or ridges. Let each coat dry completely before applying another one. Usually, two or three coats are enough to achieve a good finish.
Conclusion
Painting with a sprayer or a roller can be a fun and rewarding DIY project if you follow these tips and tricks. Whether you choose to use a paint sprayer or a roller, make sure you prepare the surface, choose the right tool, adjust the settings, test the pattern and apply the paint in thin and even coats. This way, you can use spray paint and roller paint efficiently and effectively, and enjoy your new look for years to come.
